My wife and I just moved into our new house (closing and moving during a quarantine and pandemic was interesting to say the least but we made it!), and now that we are fully unpacked, the fun part is here: making our house into a home with decorating.
Decorating your house, apartment, or dorm room is one of the smaller things in life that brings me a lot of joy. Adding a clock, a poster, a picture, or a Nudge Printing wall decal can change the mood of any room in the blink of an eye. We have our apartment through the end of this month, so there is nothing but blank walls and I thought I'd use those to my advantage and give you a step-by-step tutorial on how to apply a Nudge Printing wall decal!
(Author's note: as of right now, we only have wall decals available for sale in MSU graphics, but we are MORE than happy to make you a custom decal for you - contact us at info@nudgeprinting.com if you want a special one!)
Supplies
Applying these wall decals could not be any easier, but to do them properly and make them look good, you'll need a few basic household items.
- all-purpose cleaning spray and microfiber rag (paper towel will work but let's save the planet)
- a level
- a pencil (if you want to mark where the lines are level)
- a tape measure (depending on how particular you are about making sure everything is centered)
Before you get started taking anything out of the package, clean the surface onto which you will be applying the decal. Drywall or glass is best, but the decal will also adhere to brick or cinder block, although you will be able to see some air bubbles that won't come out because of the bumpy texture.
Pro tip: don't be afraid about paint! The vinyl we use in producing these will go on and off without taking ANY paint with it - you'll see in the sections below that I applied some of these decals multiple times without an issue.

The photo above is printed on every sticker set that we ship, and yes, it IS this easy.
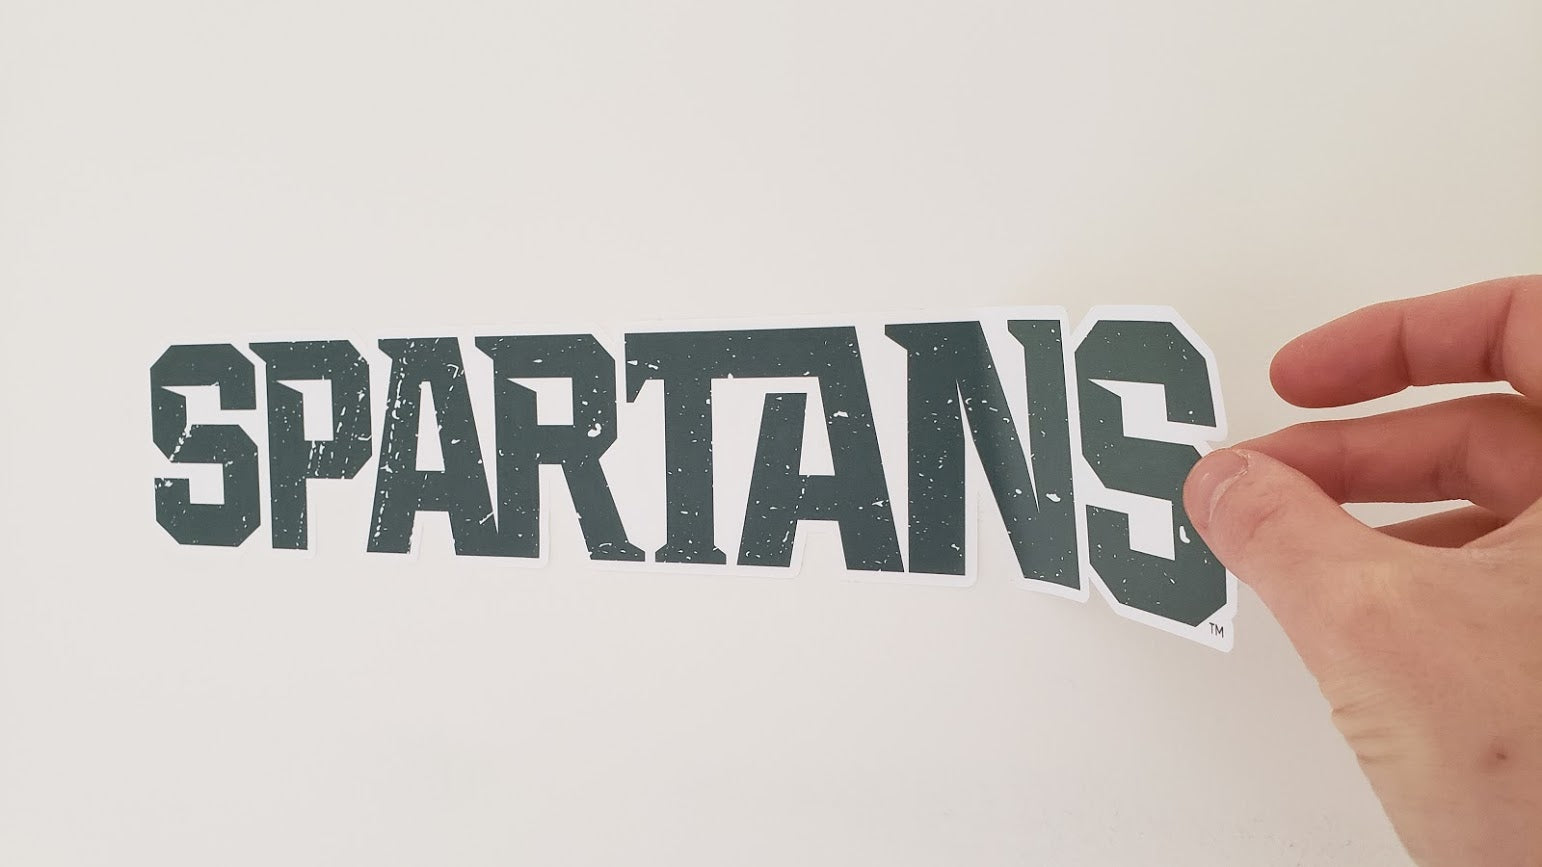
This particular set is the Ready for Battle Set, which comes with 6 different decals (two block "Spartans", two Spartan helmets, one Gruff Sparty, and one 'Ready for Battle' Sparty) for $70 and ships free. Because it arrives in a rolled tube, I laid it out on the floor with a few books on the corners to make it a little flatter and easier for installation.


When you begin to remove your first decal from the page, be sure to start at one of the broader/wider edges; if you start at a skinny edge and have to make a sharp turn, it could tear the decal (this is rare, but we want you to avoid it anyway). Removing the larger stickers is a piece of cake.
The larger decals are a lot sturdier in comparison to the smaller ones, so you can (mostly) just grip it and rip it and you shouldn't have any problem.
That said, be careful on larger decals with lots of angles. The Ready for Battle Sparty, for example, has some sharp angles around his limbs, so I had to be a little more careful removing that from the packaging.
After you've cleaned your surface, planned its location accordingly, and have removed the sticker from the packaging, applying the decal is as simple as...putting it on the wall. I'm not kidding. It is so incredibly easy.
The BEST way, however, is slightly more involved. Start with a corner or edge, and place that down.  Hold the other corner away from the wall and slowly press your hand along the widest part of the sticker and slowly work your way towards your other hand that is holding the opposite edge away from the wall.
For smaller stickers like the Spartan helmet above, simply place it on the wall will usually work just fine, but watch below how I apply the XL Spartan Helmet.
If you'd like, you can take a credit card or something like that to really smooth out the last of the air bubbles (but don't hit the paint with that, because that will definitely scuff).
For the larger ones, I like to start from the bottom; starting from the top will cause the lower sections of the decal to stick to anything they touch without being able to apply them properly. That especially is true for the Ready for Battle Sparty, who has lots of angles.
No problem! And literally less than 30 seconds!
But what about removing them? If you're moving, applied it off center or crooked, or just want it on a different wall, these decals are not by any means remotely stuck to the walls - take them with you! Take the same card and start wedging it behind the decal (again, at a wider section of the decal), then grab it with your fingers and slowly remove it from the wall.
If you want to use your fingers, you can, but that might start to chip away at the design and might not adhere as well. These decals are heavy duty and really easy to apply and re-apply, but still don't be careless with how you do it!
There you have it! Simple, but extremely effective when it comes to re-designing one of your spaces. Change your man-cave, bedroom, garage, or any other living space into a REAL fan zone in three easy steps! If you have any other questions about applying or removing a decal, please let us know!
Leave a comment